Turn Photos and Artwork into Video with Image to Video AI
Start with a photo, illustration, character design, or finished visual that you want to keep as the basis of the shot. This photo to video workflow lets you describe the subject movement, camera direction, or changes in the scene, then review the generated clip and try another version when needed.
Image to Video Examples from Photos and Artwork
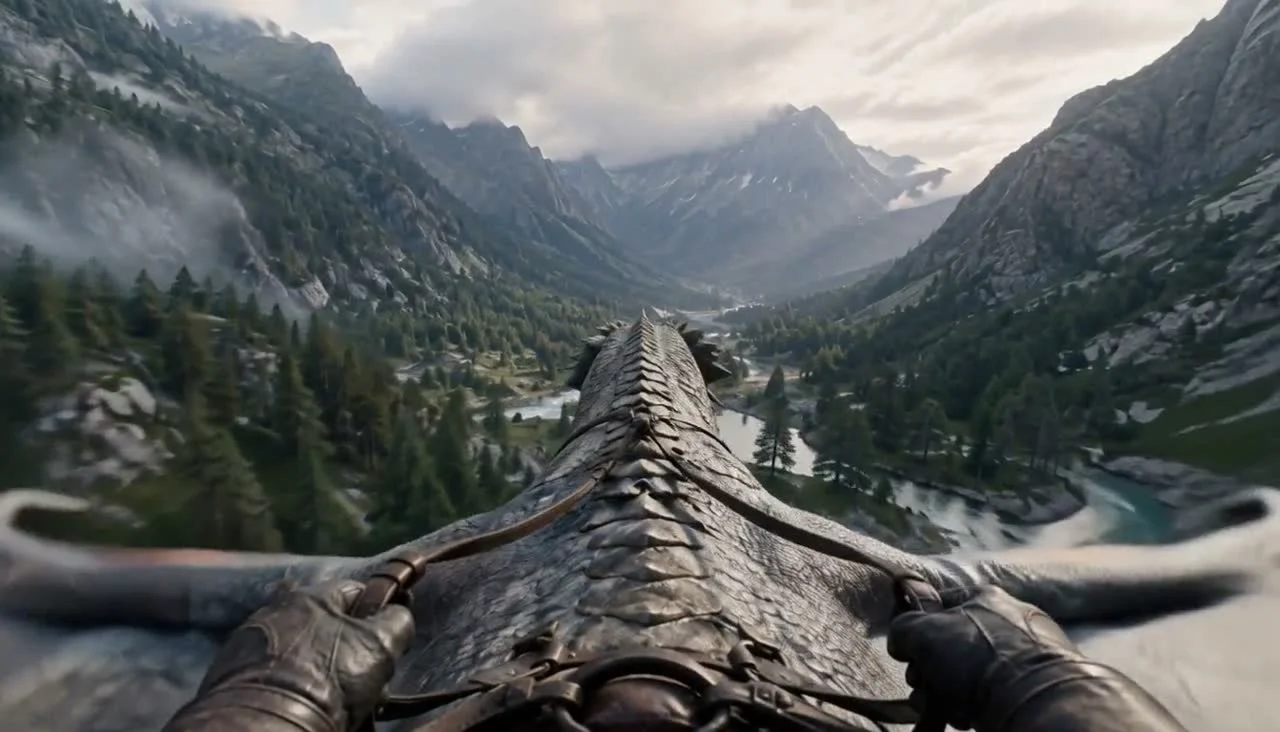
See how a starting image can lead to different kinds of movement across character portraits, illustrated artwork, and scene-based visuals.
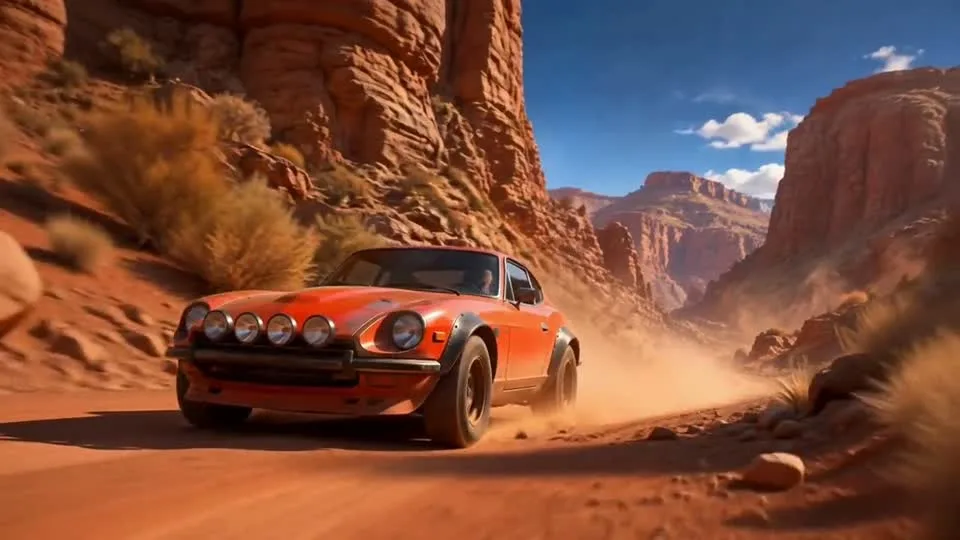
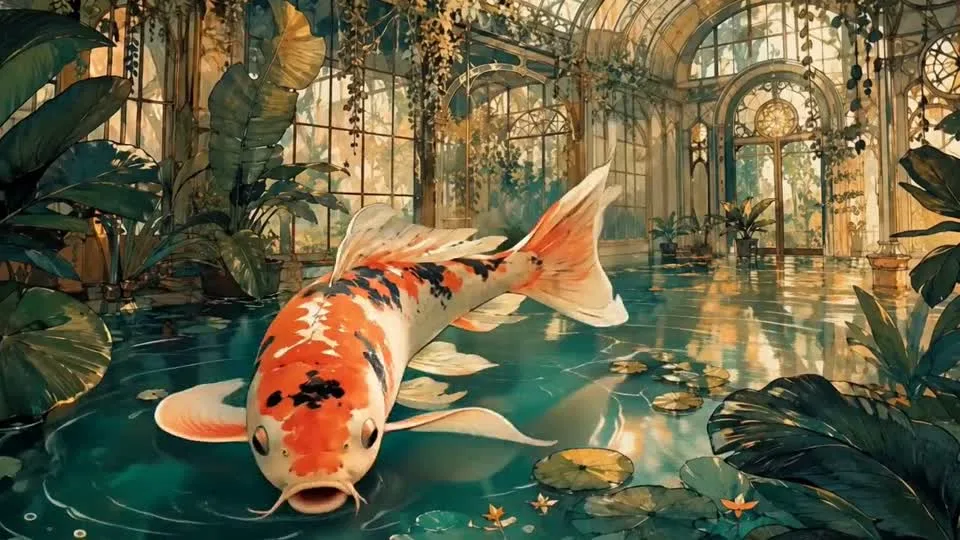
Image to Video Features for Directing Motion from a Still Image
Use an existing visual as the starting point, decide what should change, and choose the model settings that fit the source image and intended clip.
Build from a Visual You Already Have
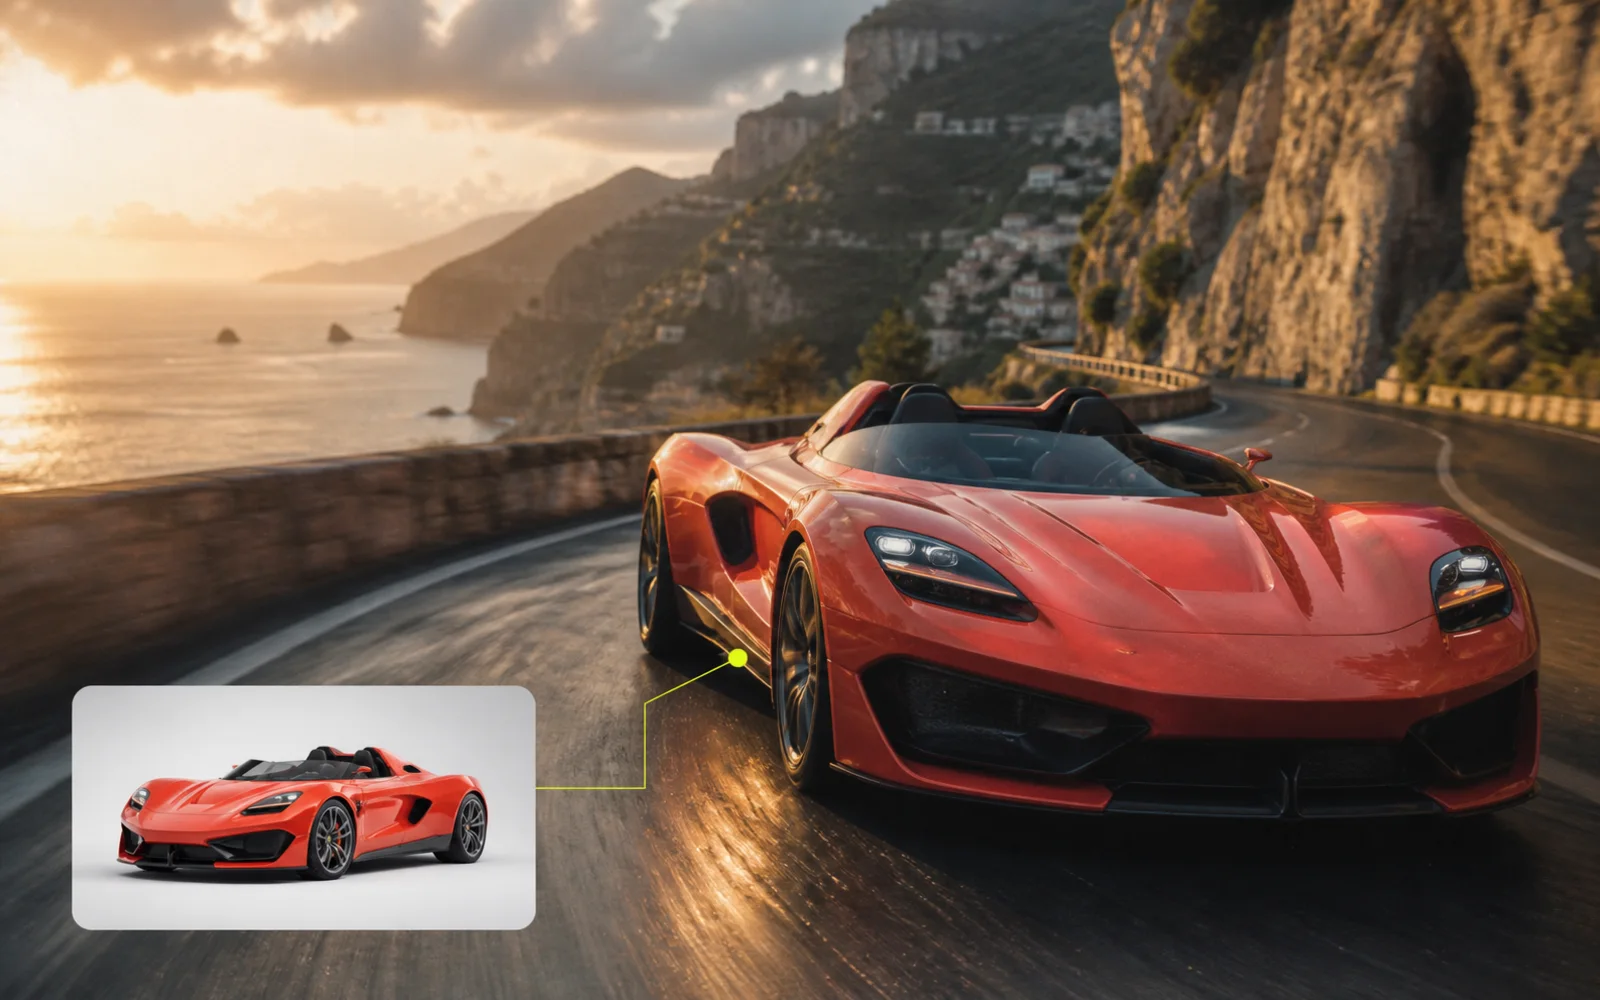
A photo or illustration provides the subject, composition, colors, and visual style for the opening frame. This makes Image to Video useful when the project should begin from a specific character, product, location, or piece of artwork rather than a new scene created from text alone.
- Start with portraits, character art, product images, or environment designs
- Use the source composition as the visual reference for the clip
- Try another image or movement direction when the first pairing does not fit
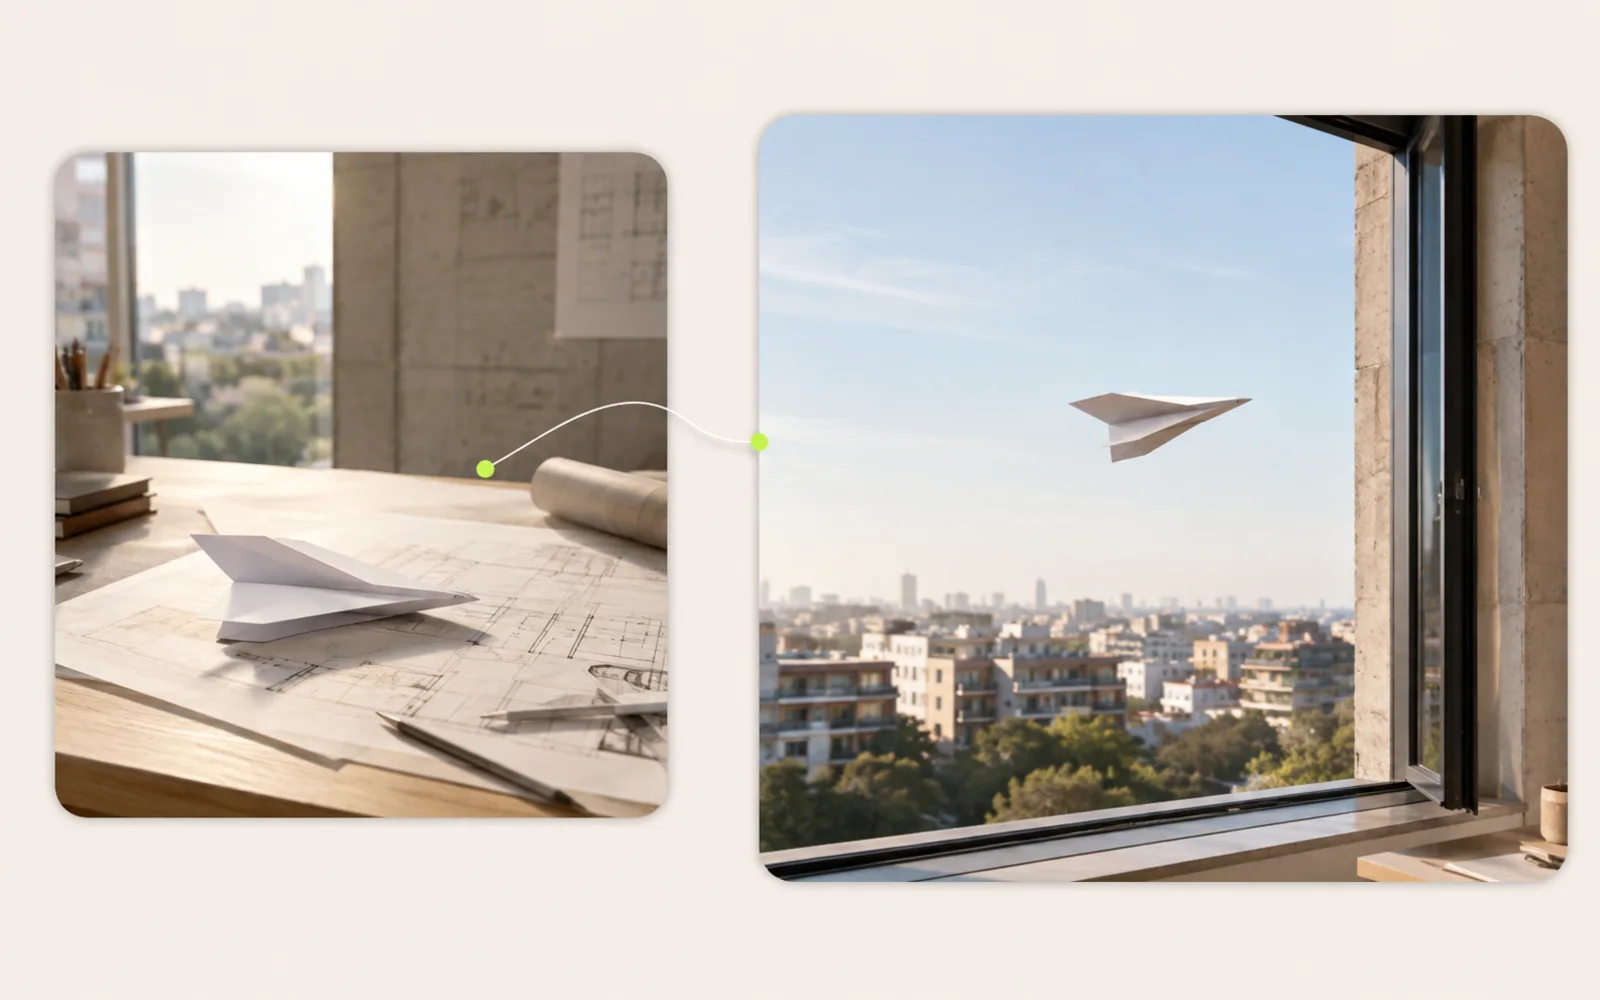
Choose Where the Image to Video Clip Should Finish
Add a last frame when the shot needs a defined visual destination. The starting image establishes where the clip begins, while the optional end image gives the model a second composition to work toward.
- Use one image for an open-ended motion clip
- Add an end frame for a planned change in pose, framing, or scene state
- Keep the two images visually related when you want a more readable transition
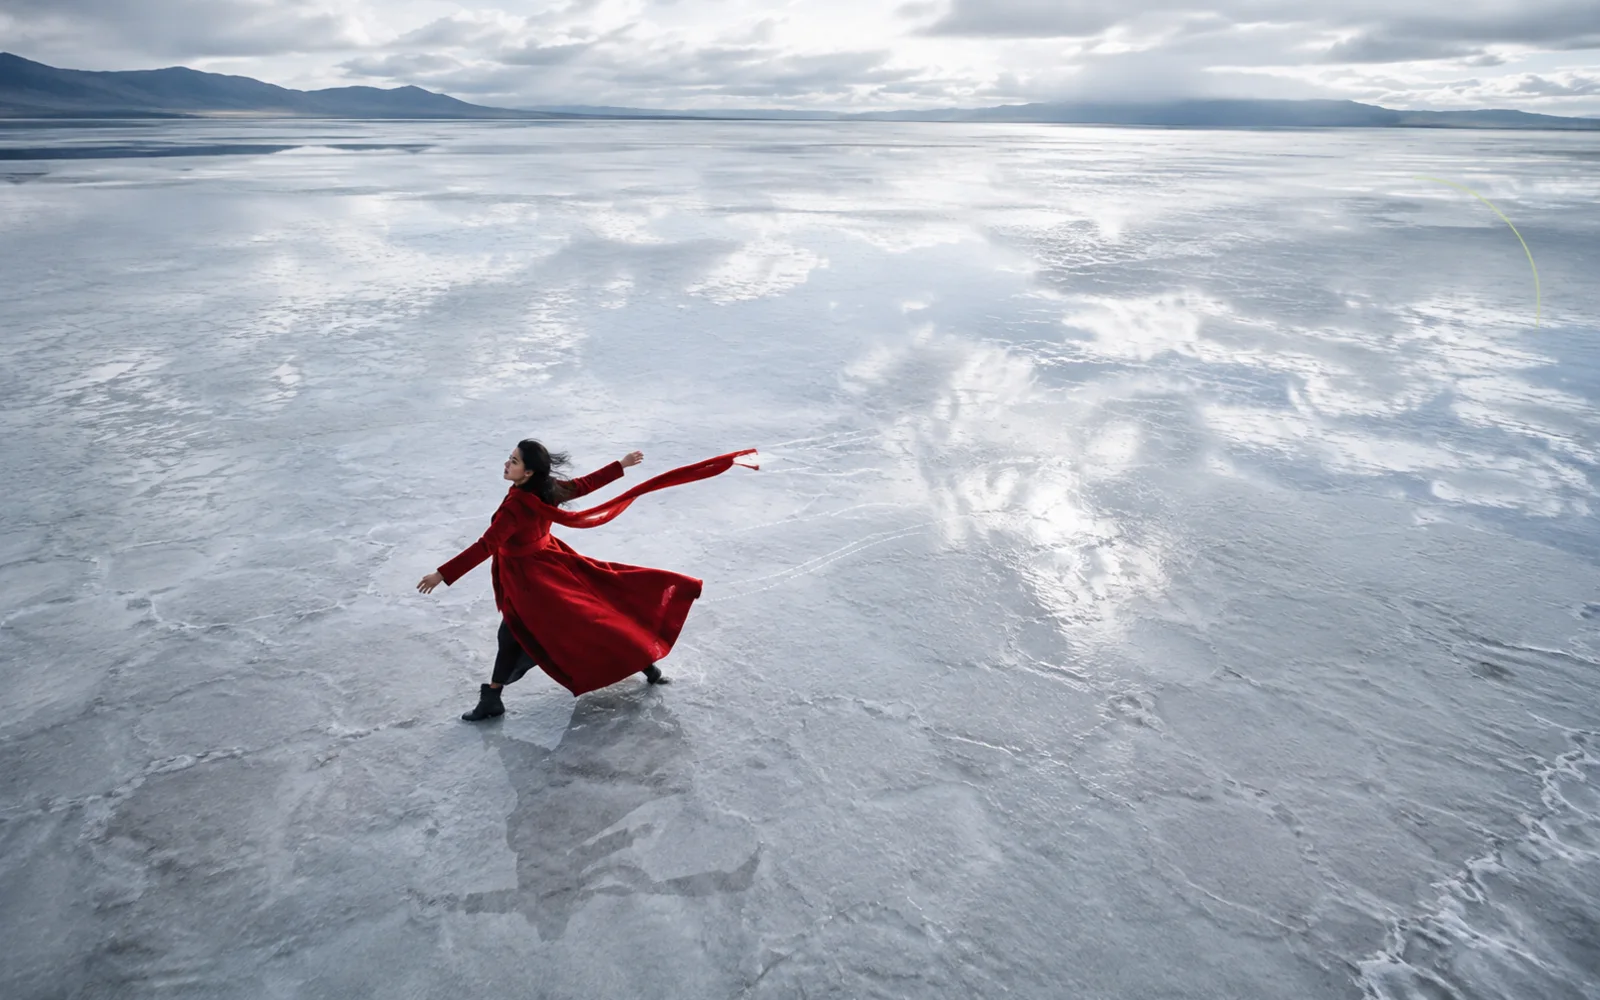
Decide What Moves and How the Camera Responds
Use the prompt to describe the change you want to see instead of repeating everything already visible in the image. Direct a subject action, a camera move, an environmental detail, or a restrained combination of the three.
- Describe a visible action such as a head turn, gesture, or walk
- Set a camera direction such as a pan, push-in, tilt, or fixed shot
- Add scene movement such as wind, water, steam, or changing light
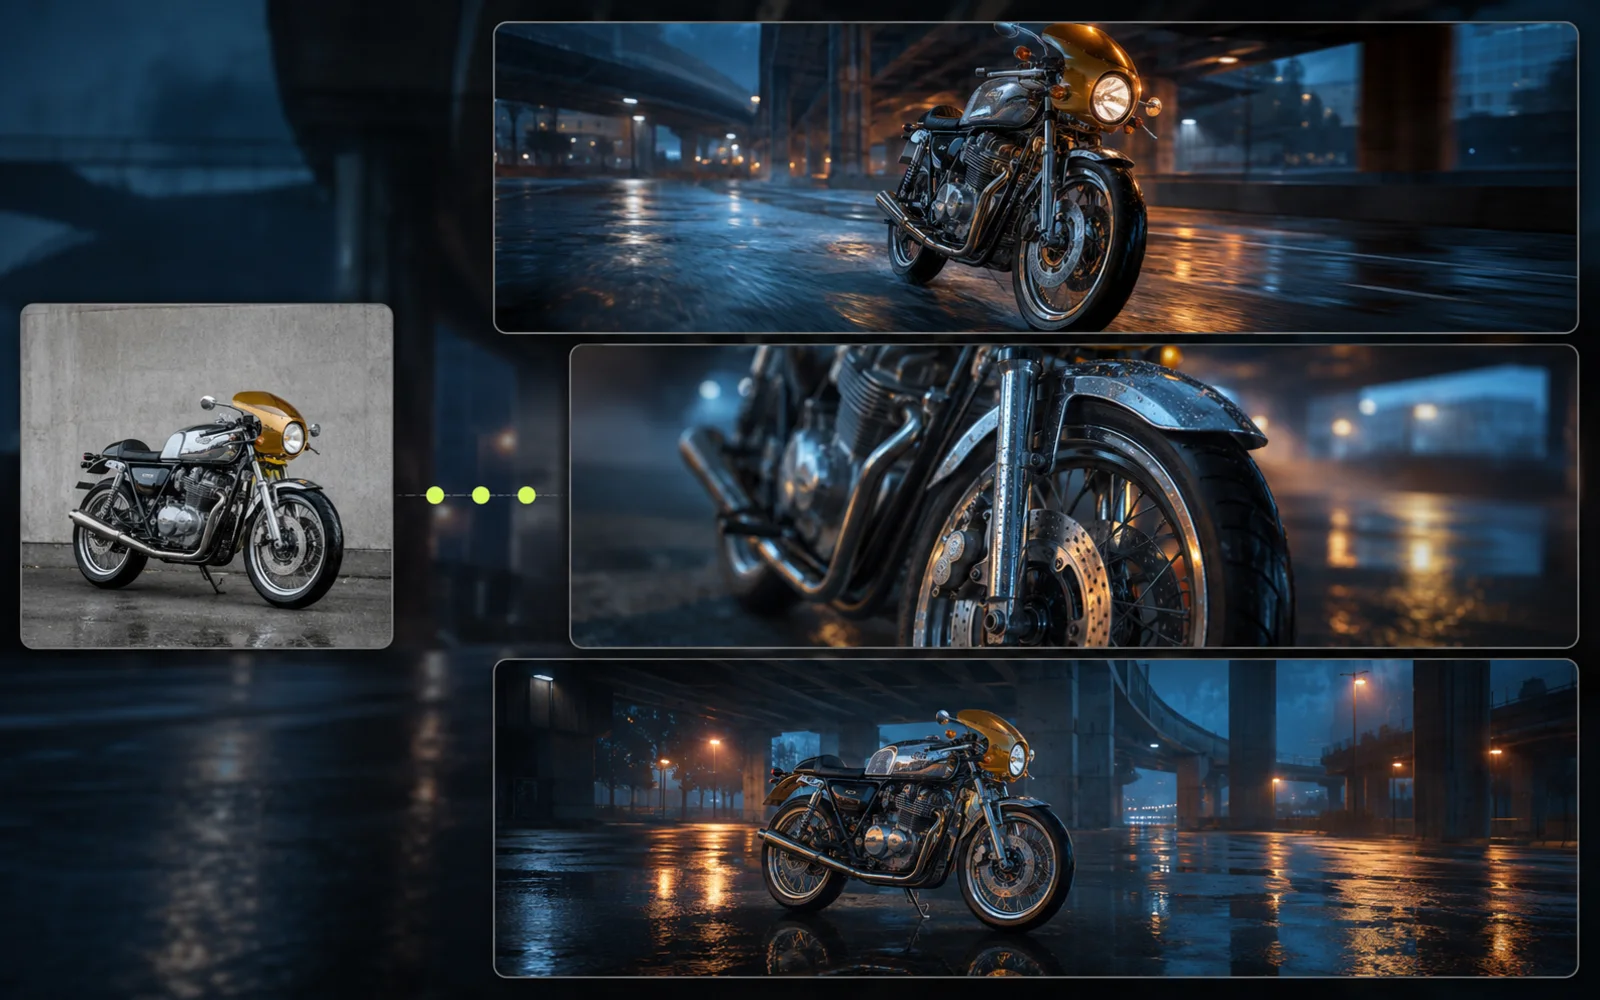
Choose Image to Video Settings for Each Project
Different Image to Video models support different clip lengths, resolutions, frame shapes, prompt controls, and audio behavior. Select a model first, then use the compatible options shown in the generator and review the credit total before starting.
- Compare available models without leaving the Image to Video workspace
- See supported durations and resolutions after choosing a model
- Use audio and aspect-ratio controls when the selected model provides them
Practical Image to Video Uses for Existing Visuals
Image to Video fits projects that already have a useful still image but need a short moving version for an edit, presentation, campaign, or creative test.
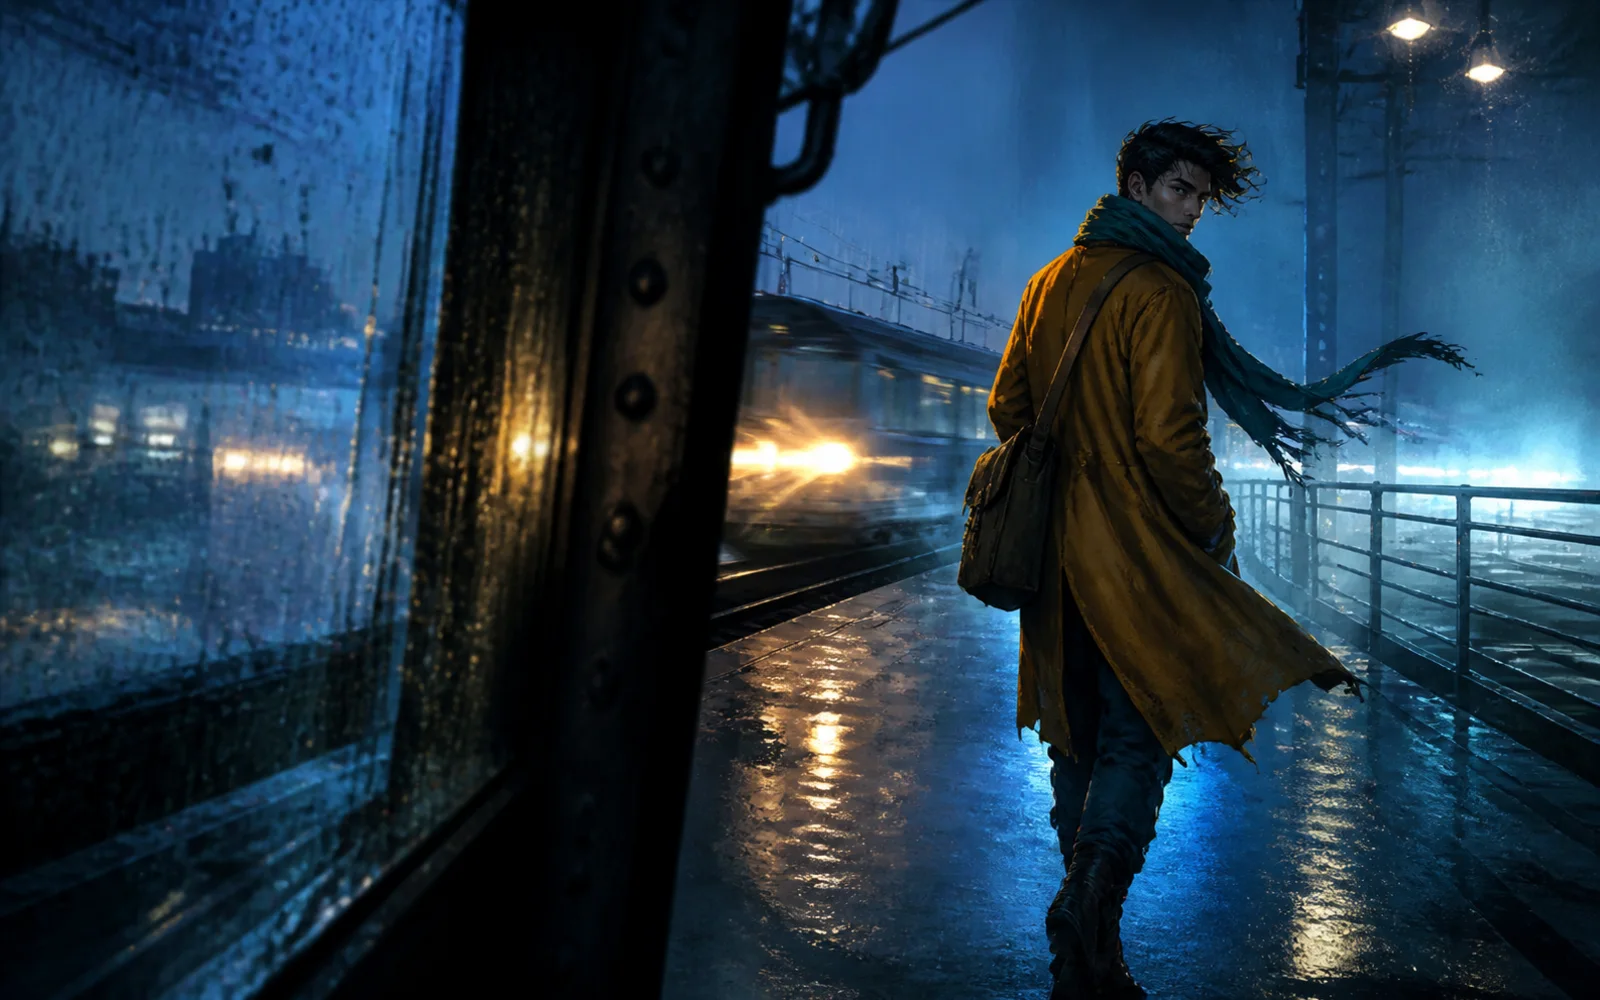
Character Illustrations and Portraits
Give a static character a short visible action for an introduction, profile moment, story panel, or standalone animated scene. The source artwork remains the visual starting point while the prompt describes what the character should do.
Travel Photos and Environment Art
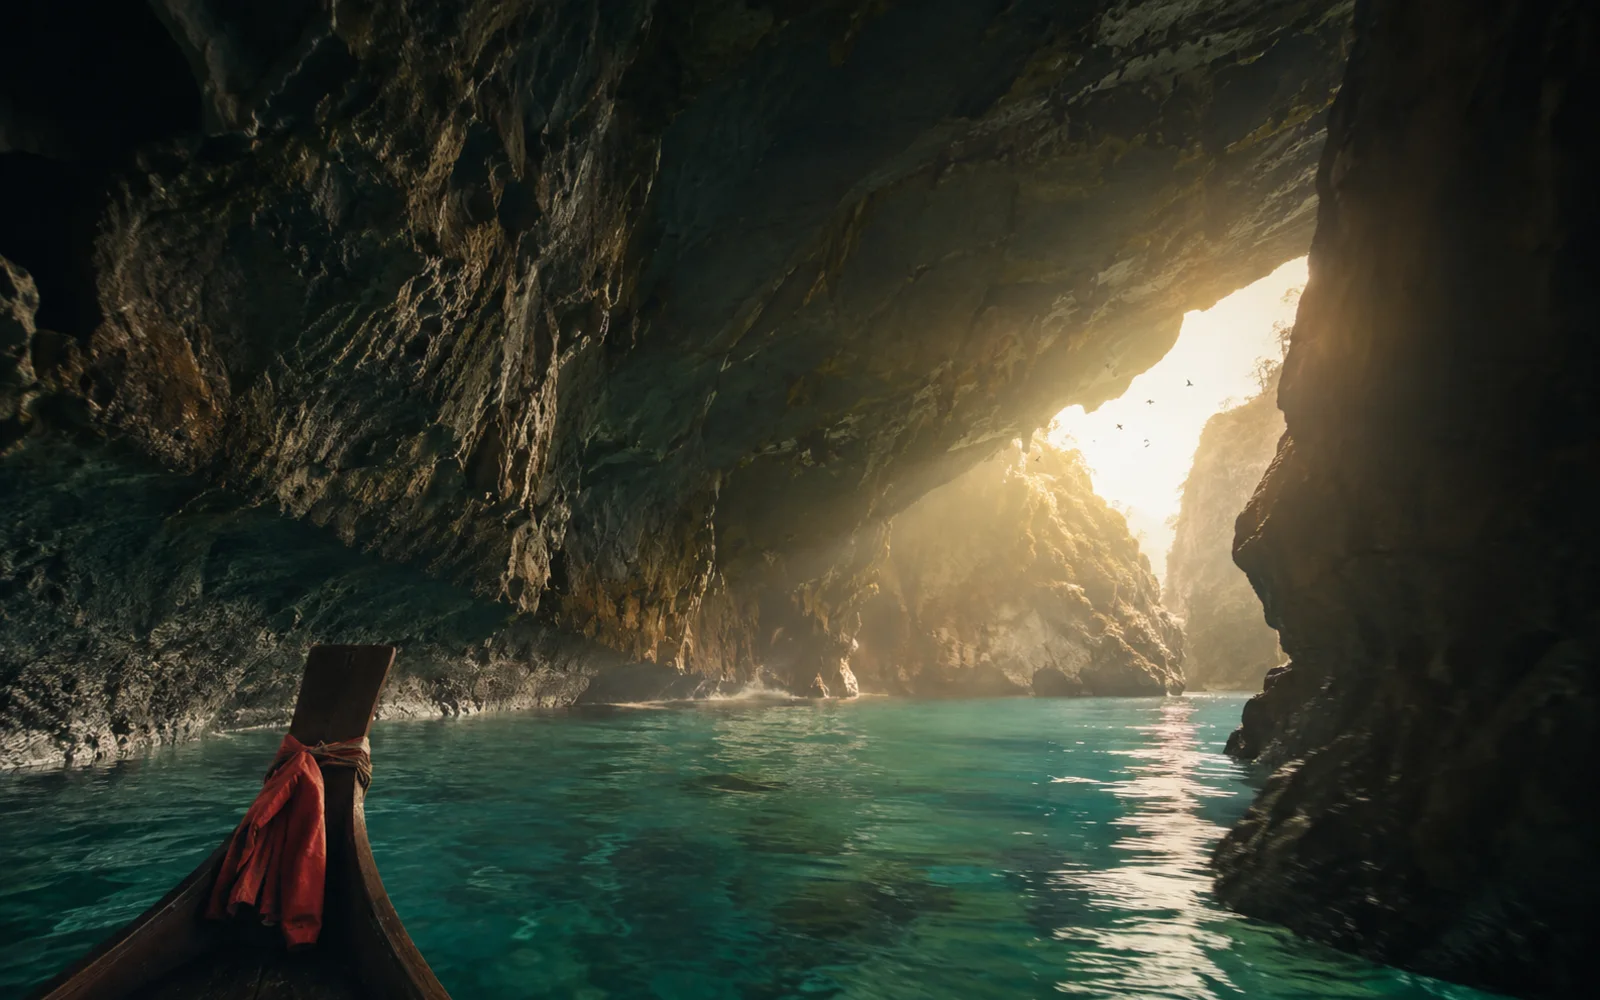
Add a camera move or environmental change to landscapes, architectural images, and location artwork. These clips can provide an establishing view, a background moment, or a moving reference for a larger edit.
Campaign Artwork and Promotional Visuals
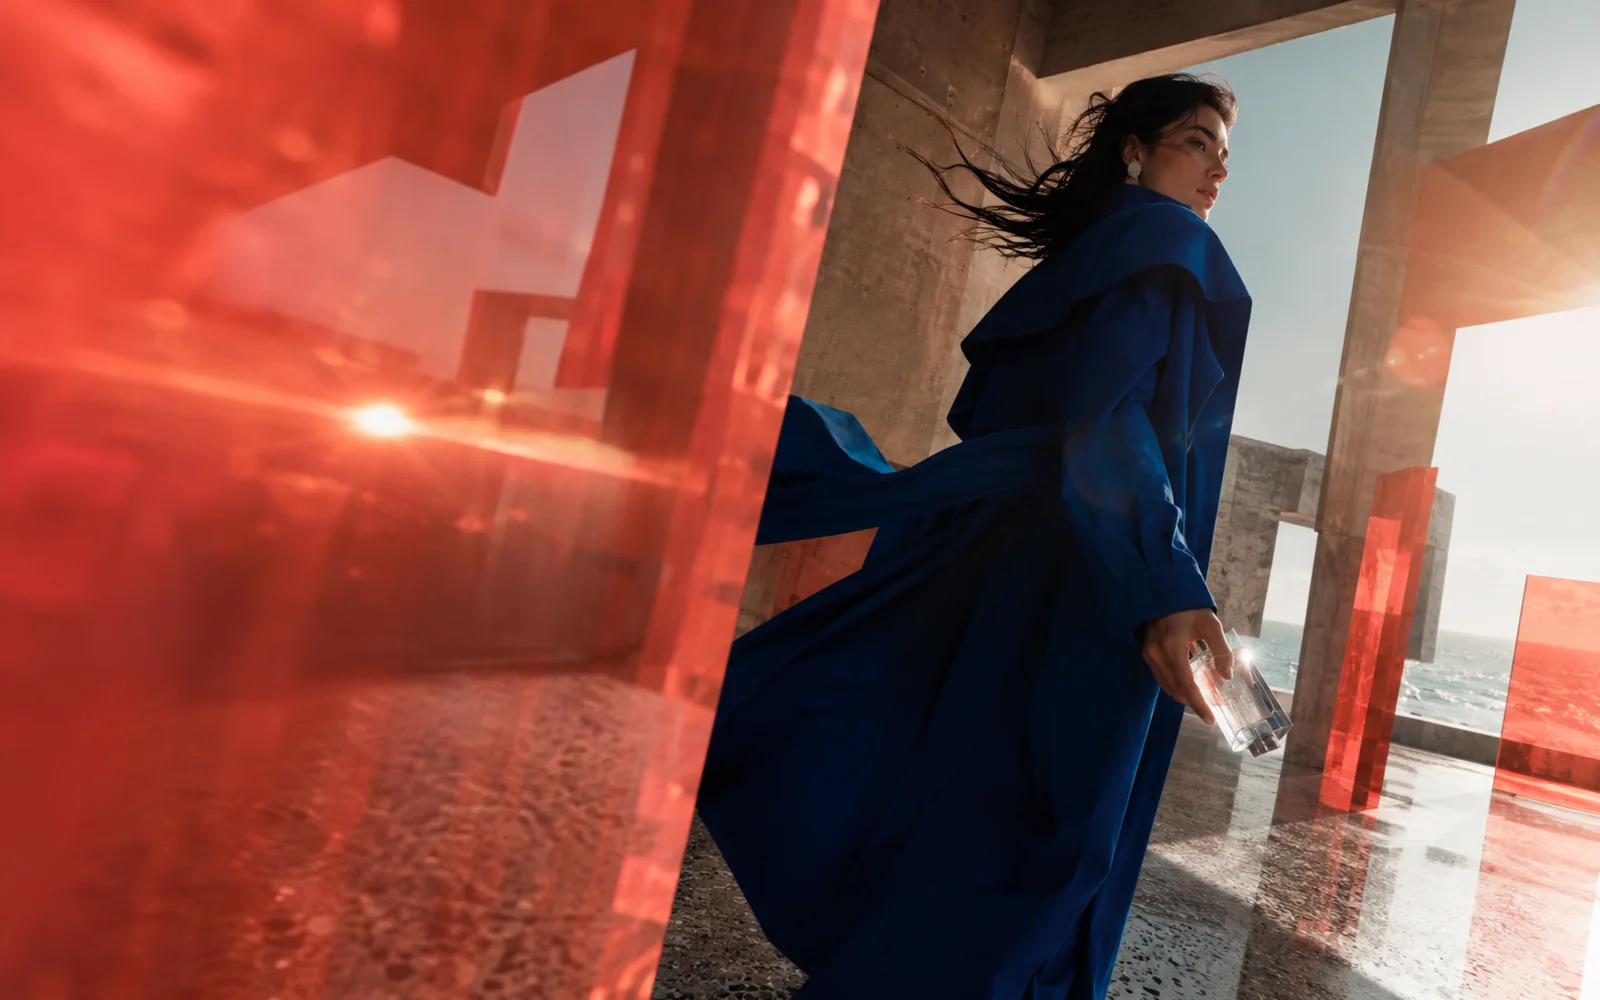
Turn an existing poster, key visual, cover image, or campaign illustration into a moving variation. Start from the approved design, then introduce motion that supports the subject instead of rebuilding the visual from scratch.
Product Images and Concept Renders
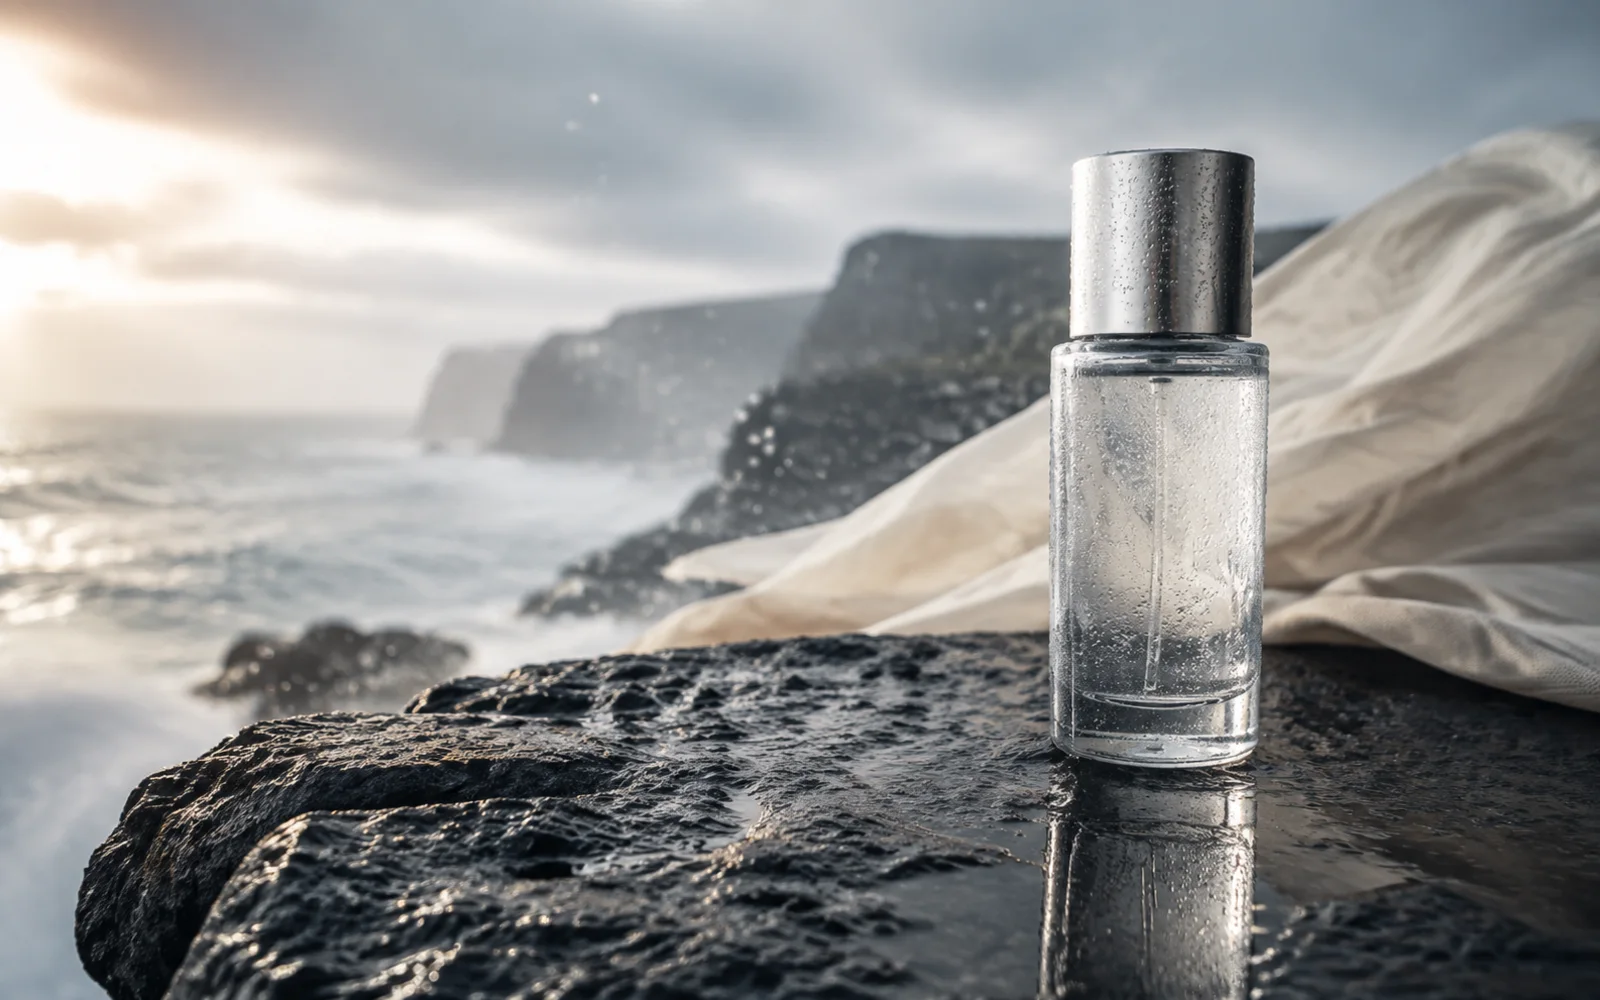
Use a product photo, packaging design, or concept render as the first frame of a short showcase clip. A restrained camera move or surrounding scene motion can add another presentation option for the same asset.
What to Describe in an Image to Video Prompt
The image already shows the subject and setting. Use the prompt to explain what should move, how the shot should be framed, and whether the environment should change.
Framing and Camera Direction
Describe the viewpoint and one camera movement when the shot needs it. A fixed camera is also useful when the subject action should carry the scene.
Visible Actions and Expressions
Name the action that matters most in the clip. Keeping the direction focused makes it easier to judge whether the generated movement fits the starting image.
Changes Around the Subject
Mention environmental movement only when it contributes to the shot. Choose one or two readable changes instead of filling the prompt with unrelated effects.
How to Make an Image to Video Clip
Choose the still image that should define the shot, add a focused movement direction, and review the result in your creations dashboard.
Choose Your Starting Image
Upload a JPG, PNG, or WebP image up to 10MB. It can be a photo, illustration, character design, product image, or environment visual.
Describe What Should Change
Write a short direction for the subject, camera, or environment. Add an optional last frame when the clip should move toward a specific ending composition.
Choose a Model and Review the Clip
Select a model, then choose from the durations, resolutions, aspect-ratio behavior, and audio controls available for that model. The generator shows the credit cost before you submit the task.
Frequently Asked Questions About Image to Video AI
Answers about source images, motion directions, optional end frames, model settings, and usage rights.
Image to Video AI creates a video from an image by using a photo or illustration as the opening visual. The image supplies the subject and composition, while a text direction describes the movement or scene change you want to explore.
Create an Image to Video Clip from Your Photo
Add a photo or illustration, describe what should move, and choose from the settings available for the selected model.
JPG, PNG, and WebP input · Model-specific video settings · Commercial use on paid plans