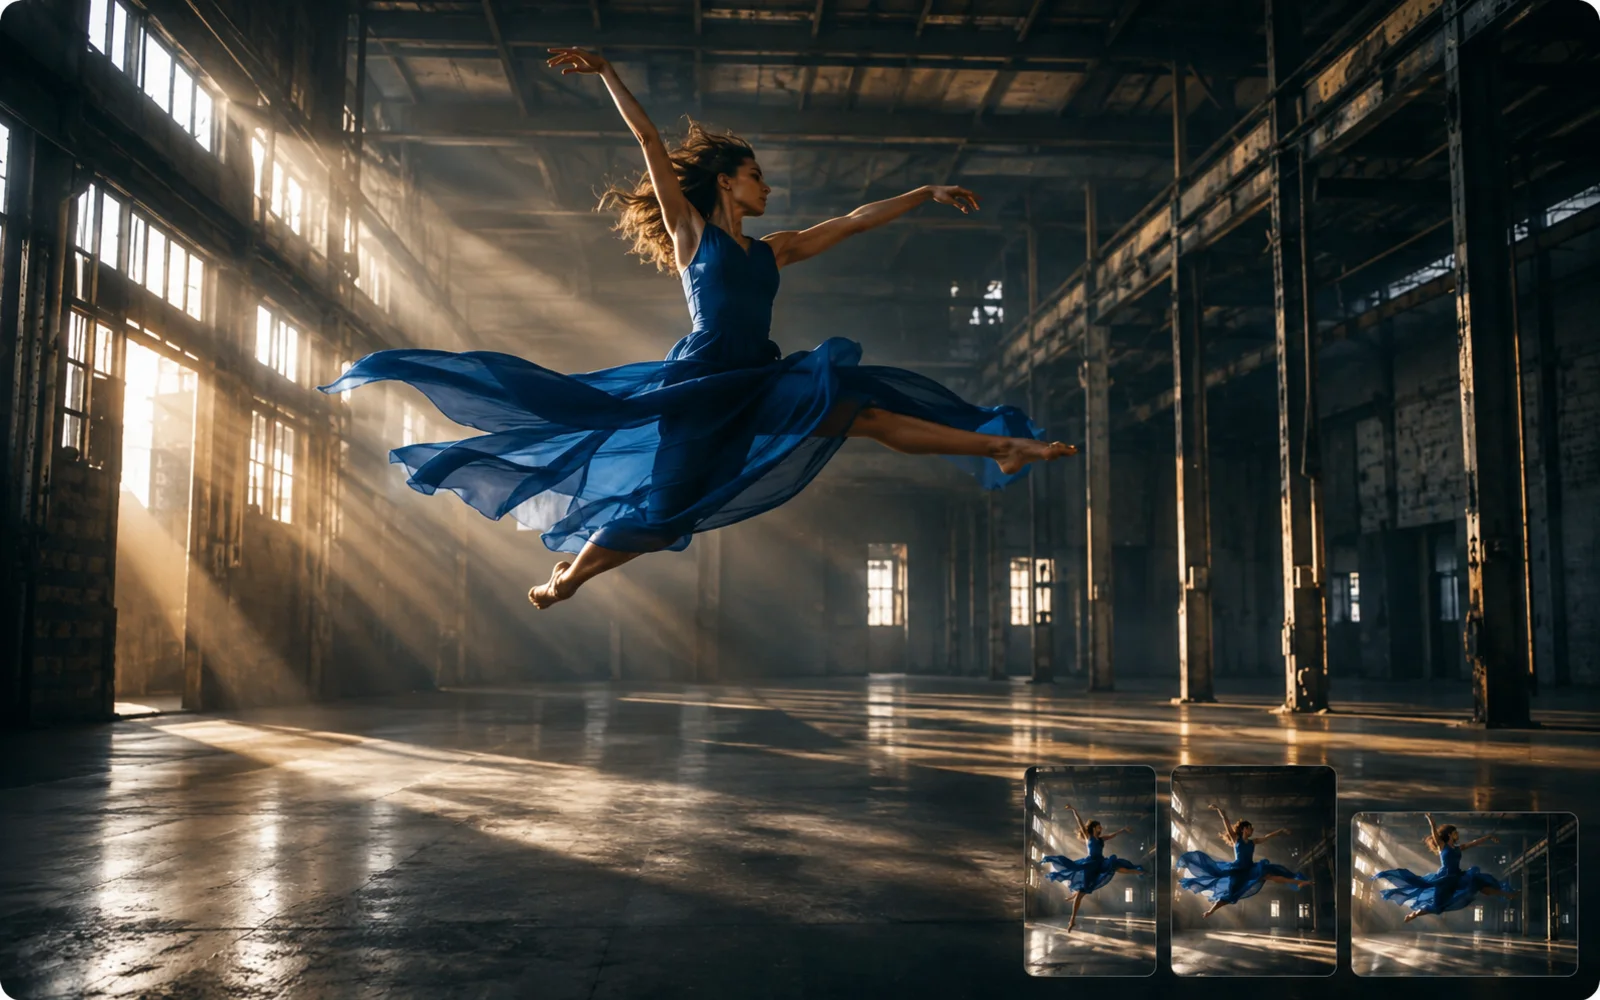
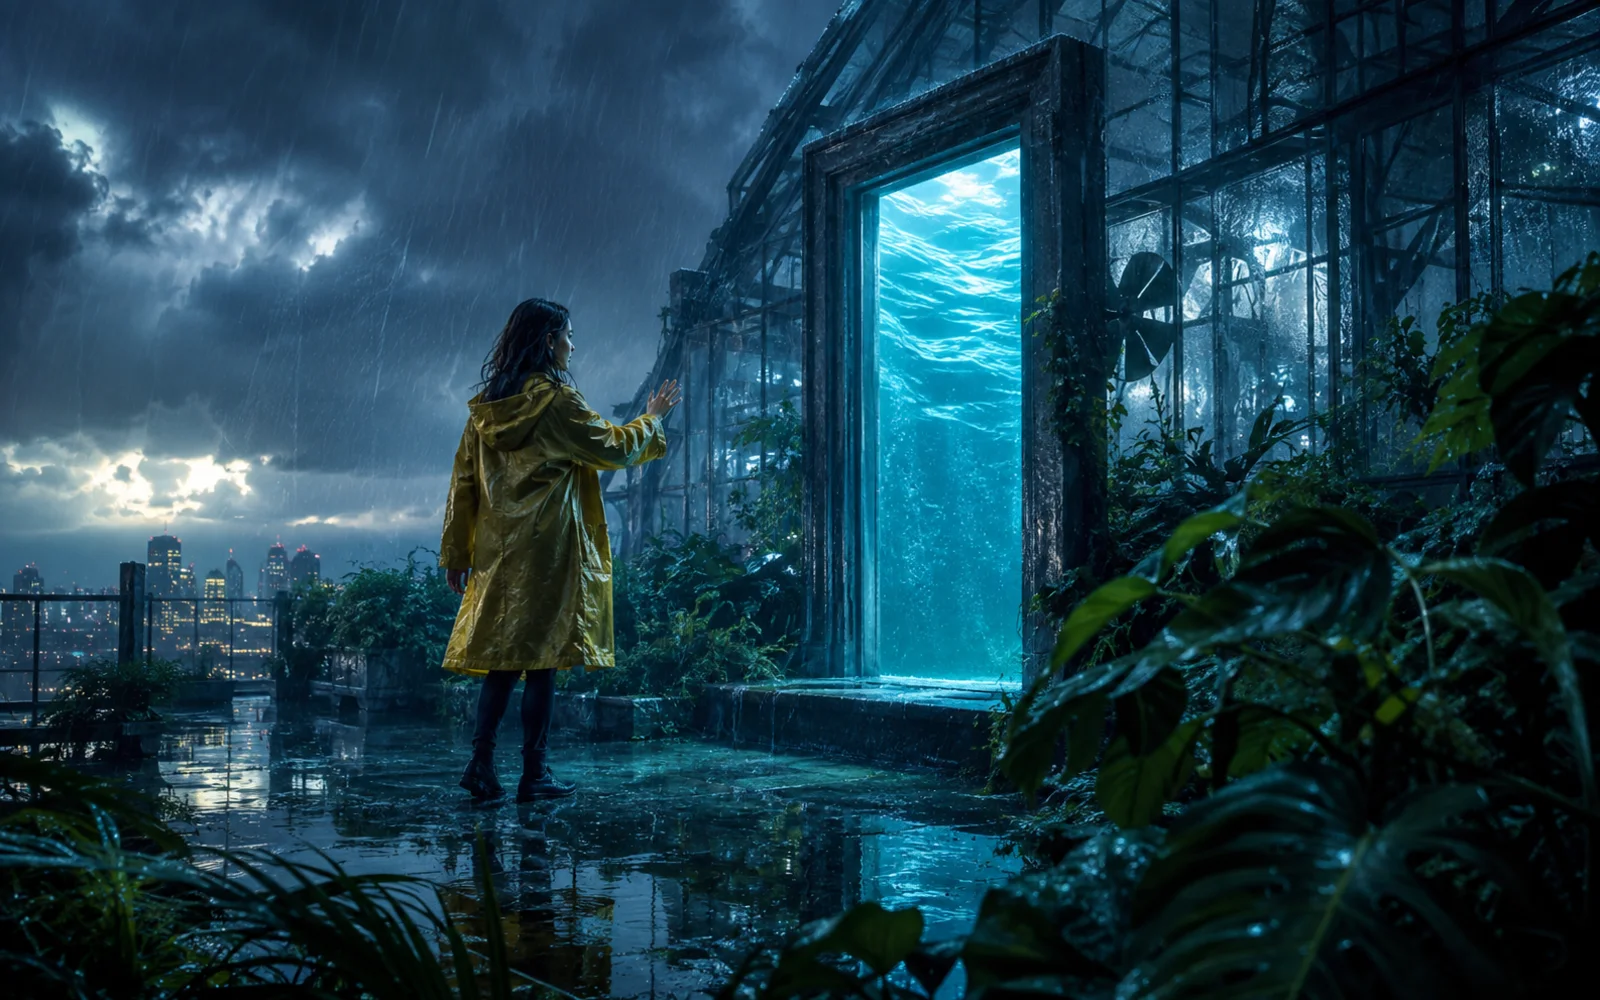
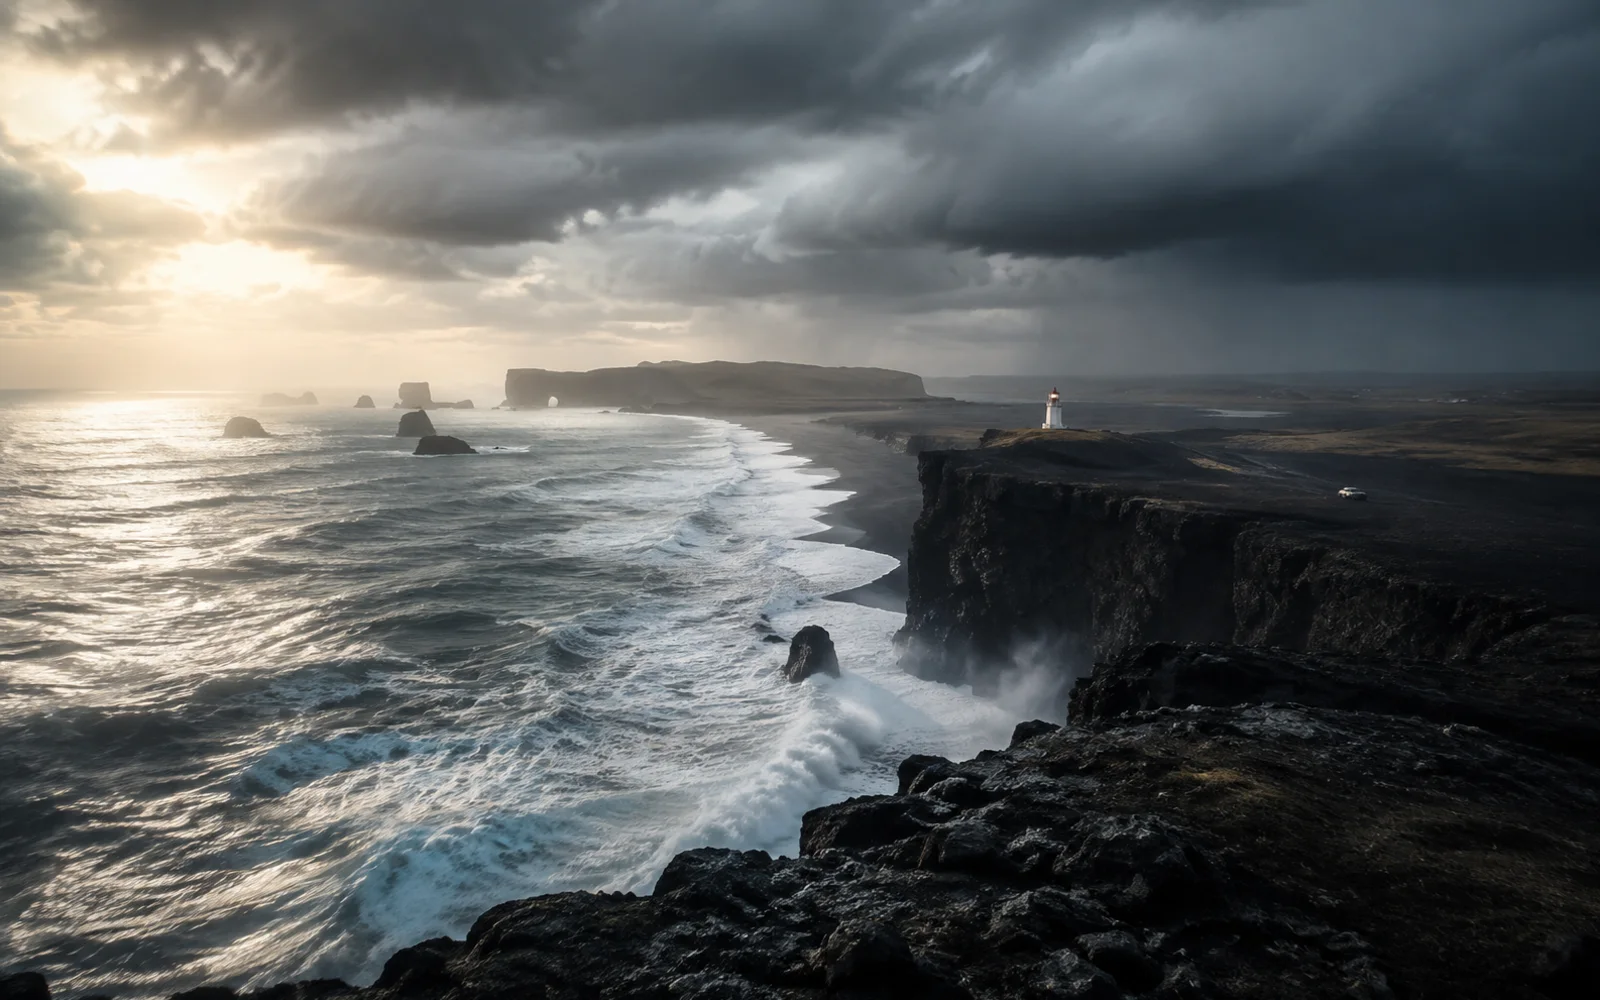
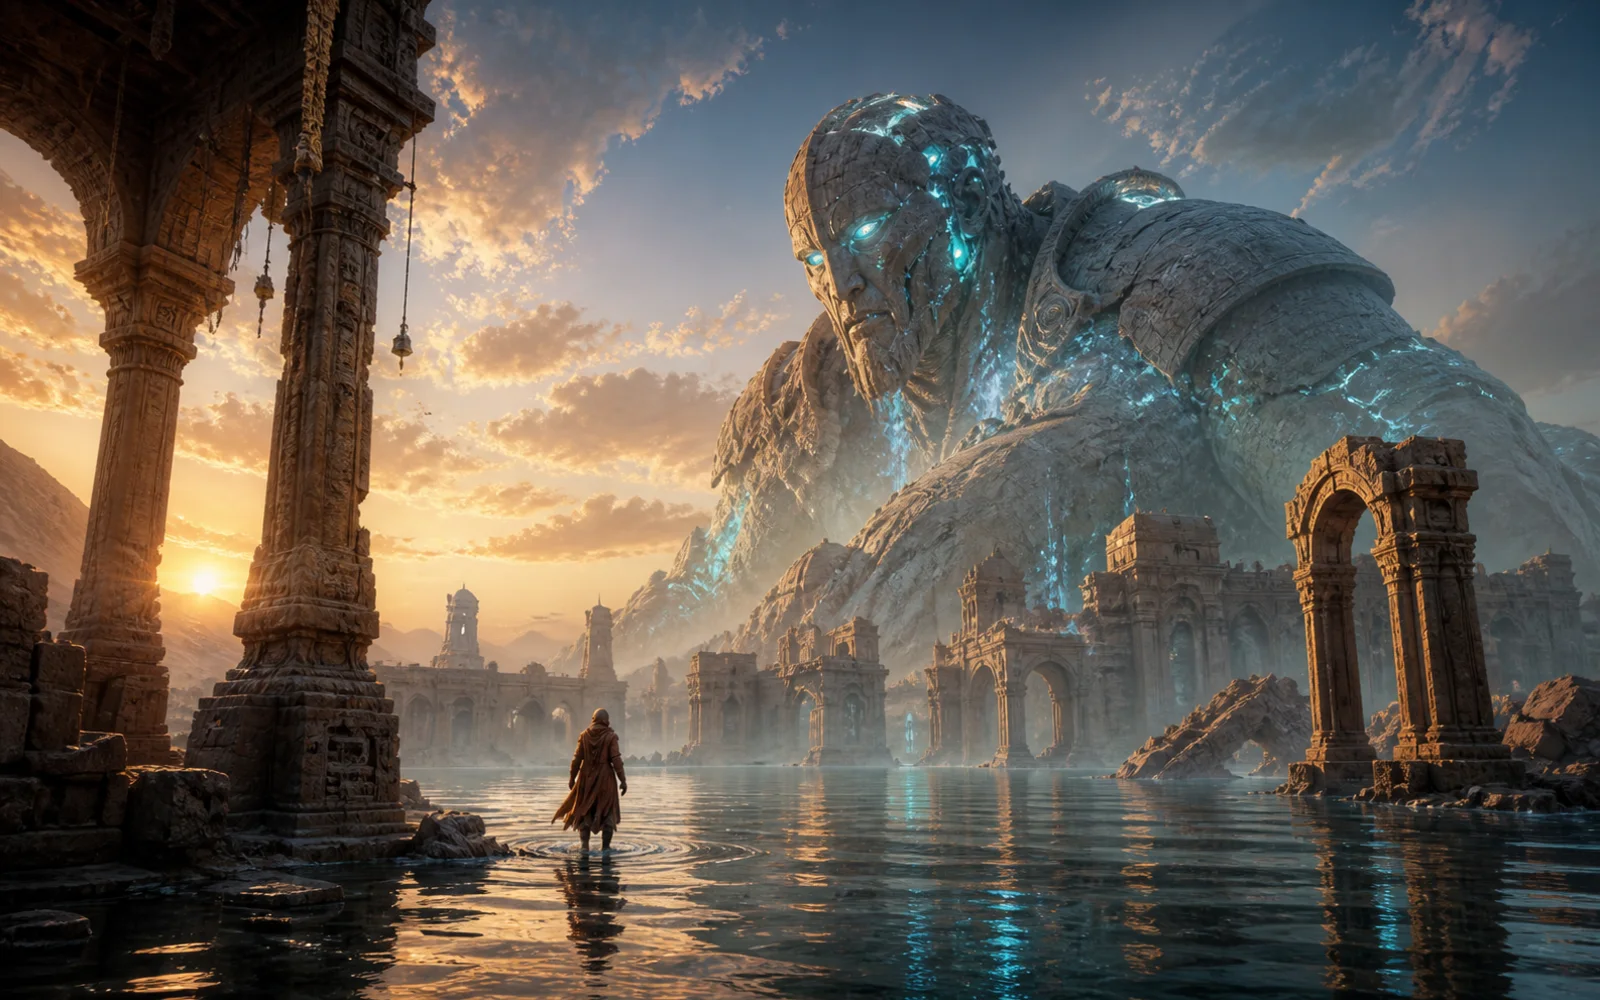
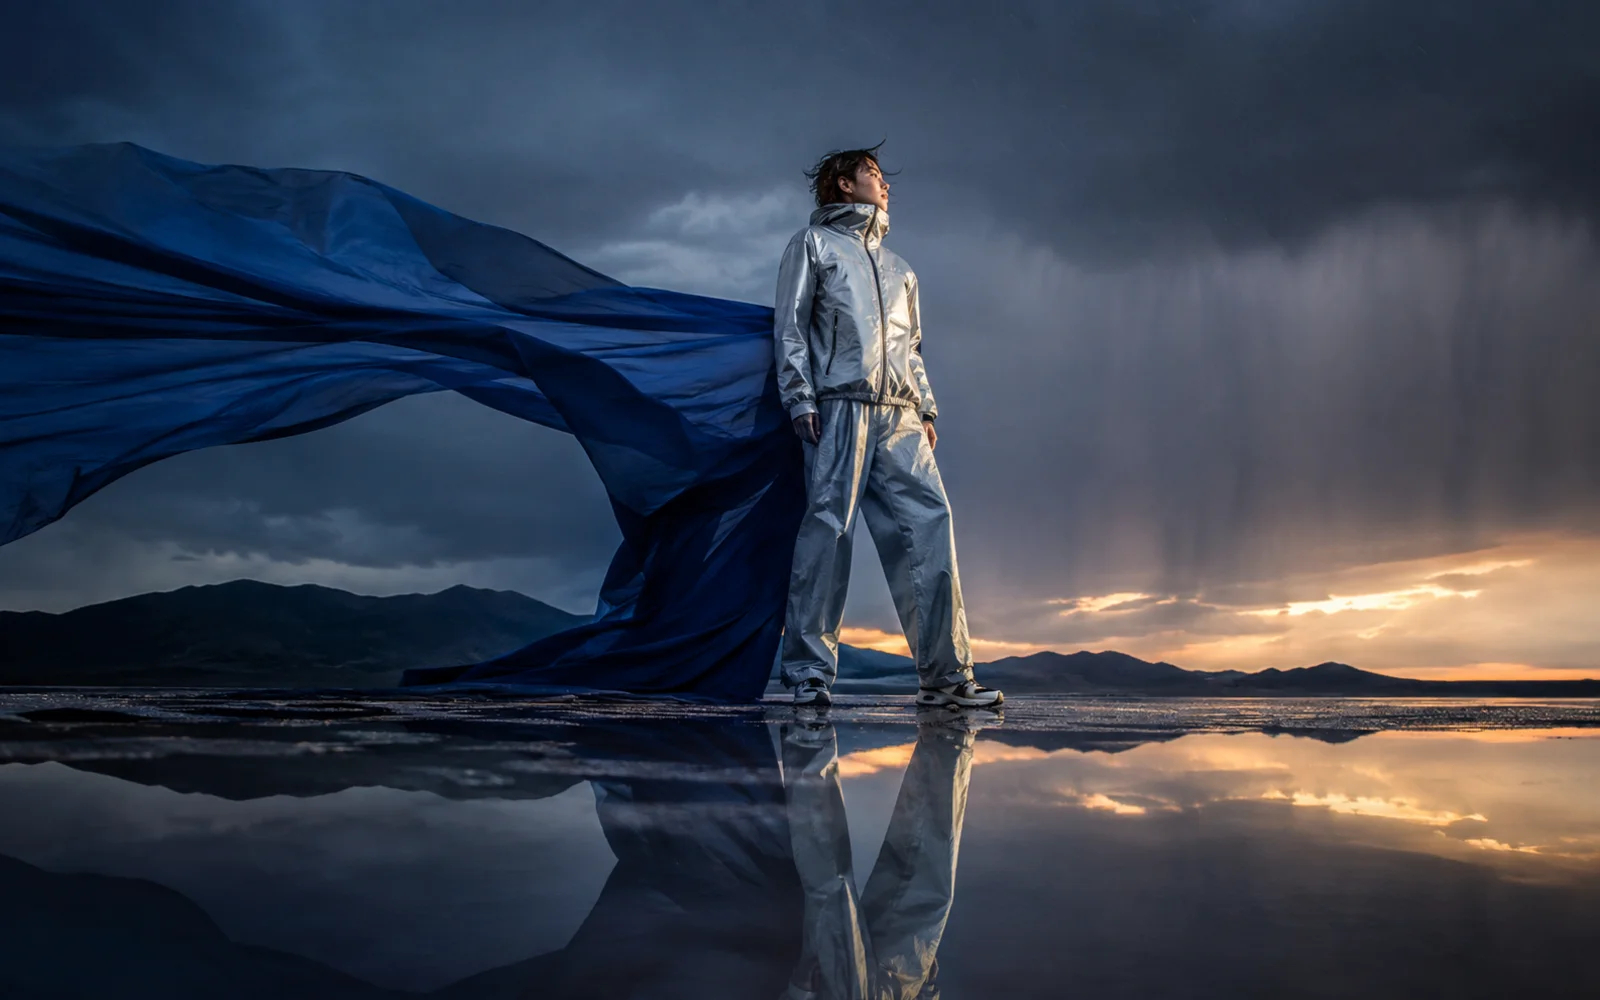
AI Video from Text

Create New Video Scenes with Text to Video AI

Start with a written idea when you do not have a source image or recorded footage. Describe one scene, including what is happening and how it should be viewed, then compare the generated result with the idea you had in mind.

Text to Video Features

Text to Video AI Features for Turning Ideas into Scenes

Move from a written concept to a standalone video clip, explore different visual interpretations, and choose output settings that suit the shot you are planning.

Begin with a Scene You Can Describe
01 · Written Starting Point

Begin with a Scene You Can Describe

Text to Video begins with the scene in your head rather than an existing visual. Write what should appear in a single shot, and use the generated clip to see how that idea could look in motion.

  • Create a clip without uploading a starting image
  • Describe people, objects, locations, or imagined environments
  • Use the result as a standalone asset or a visual reference for further work
Describe the Subject, Setting, and Point of View
02 · Creative Direction

Describe the Subject, Setting, and Point of View

A useful description tells the model what is visible and what is happening. Add the location, time of day, visual treatment, shot size, or camera movement only when those details change the scene you want to see.

  • Name one main subject and one readable action
  • Set the location and visual mood when they matter to the idea
  • Choose a wide view, close view, fixed camera, or simple camera move
Explore More Than One Interpretation of the Same Idea
03 · Version Exploration

Explore More Than One Interpretation of the Same Idea

Generated video can vary between attempts and models. Keep the basic scene stable while changing one action, framing choice, visual style, or model so you can compare alternatives without rewriting the entire concept.

  • Try another model with the same core scene description
  • Adjust one direction at a time to make comparisons easier
  • Review variations before choosing a clip for the larger project
Choose Settings That Fit the Clip You Need
04 · Output Choices

Choose Settings That Fit the Clip You Need

The available duration, resolution, aspect ratio, prompt controls, and audio behavior change with the selected Text to Video model. Some supported models offer clips up to 30 seconds, while others provide shorter ranges.

  • See compatible frame formats and resolutions after selecting a model
  • Choose from the clip lengths supported by the current model
  • Use audio, prompt expansion, or negative prompts when those controls are available
Text to Video Examples

Text to Video Examples Paired with Their Prompts

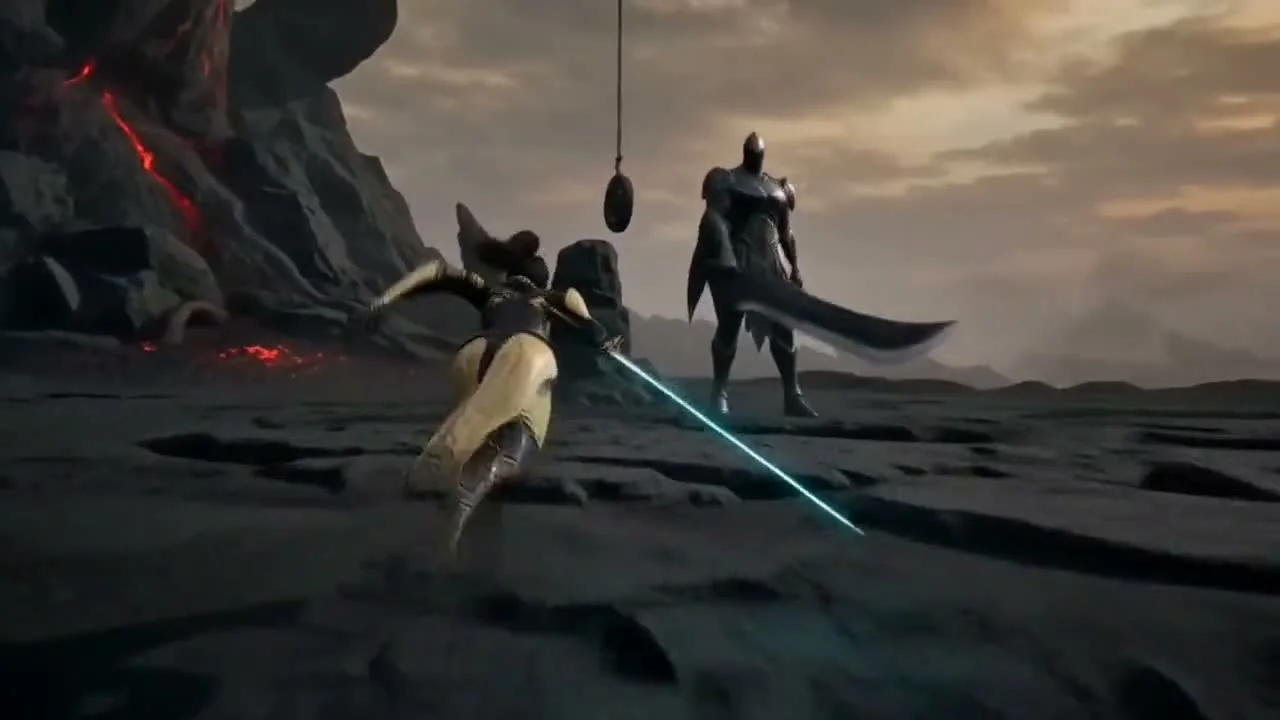
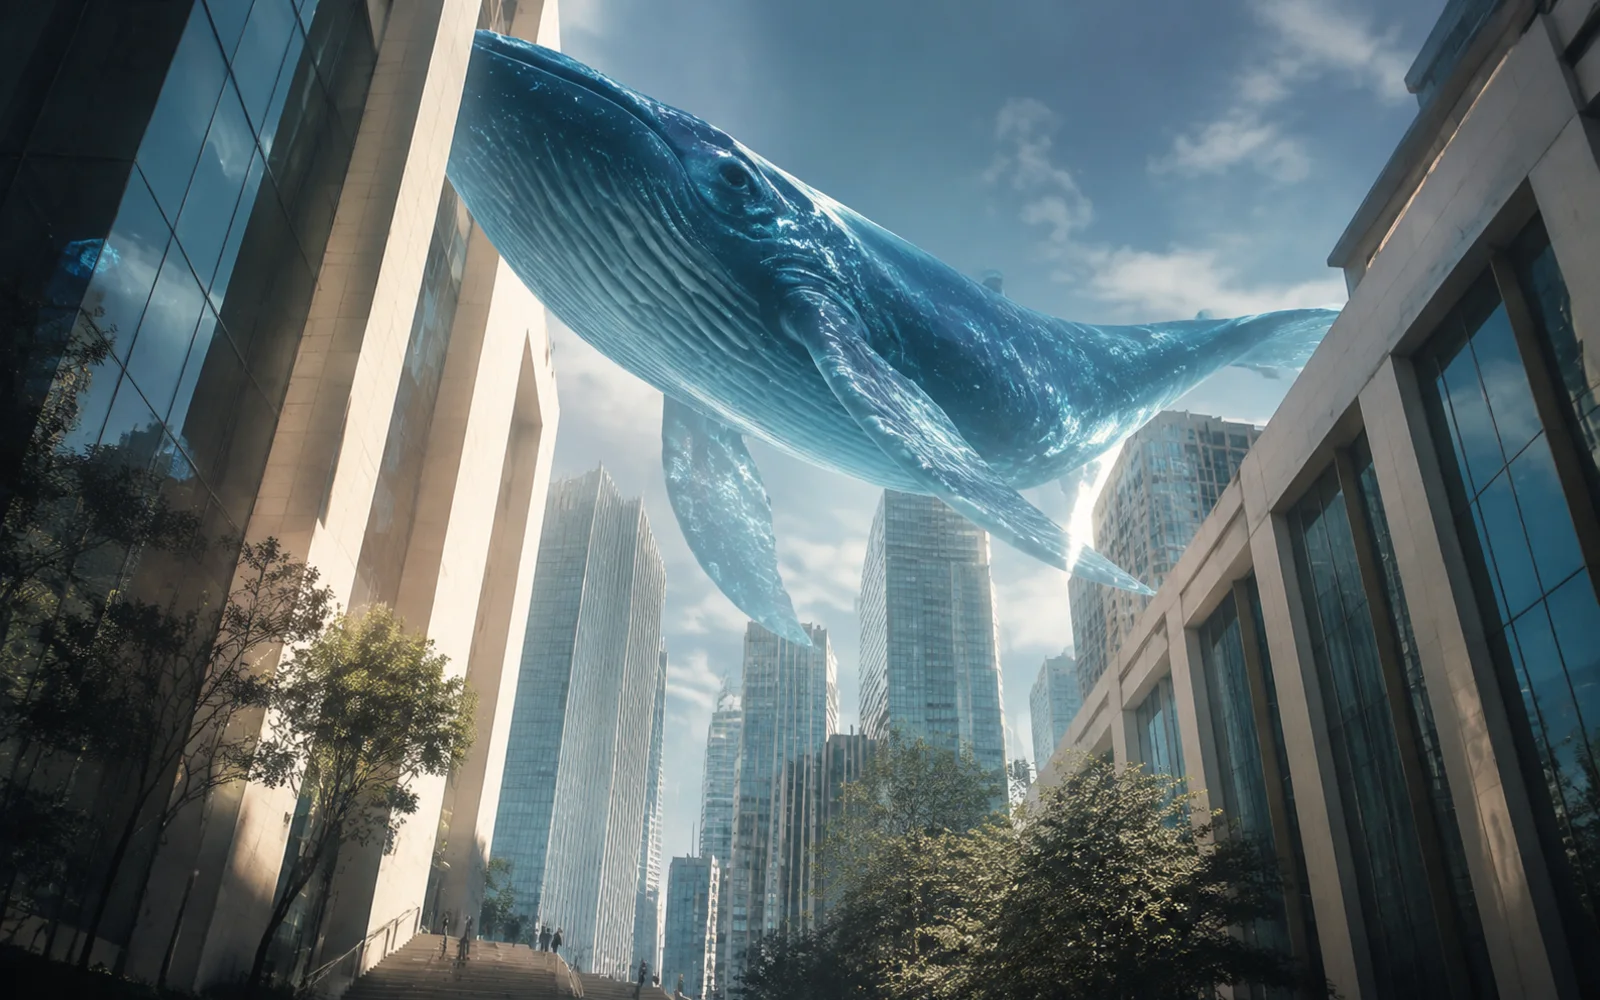
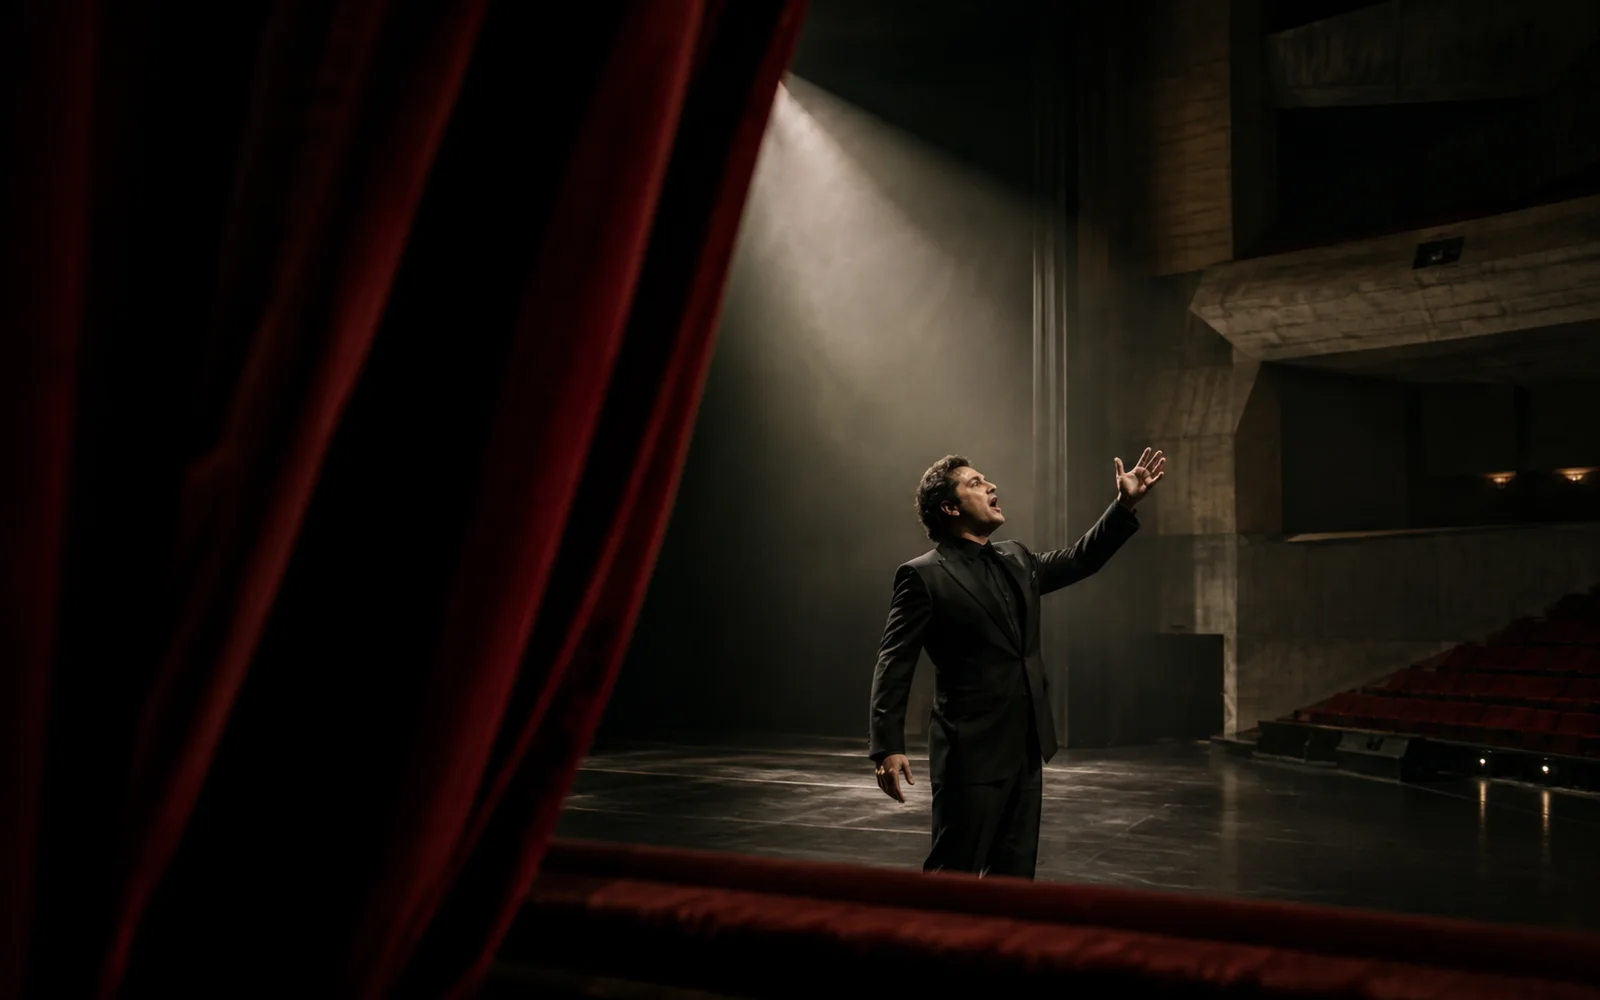
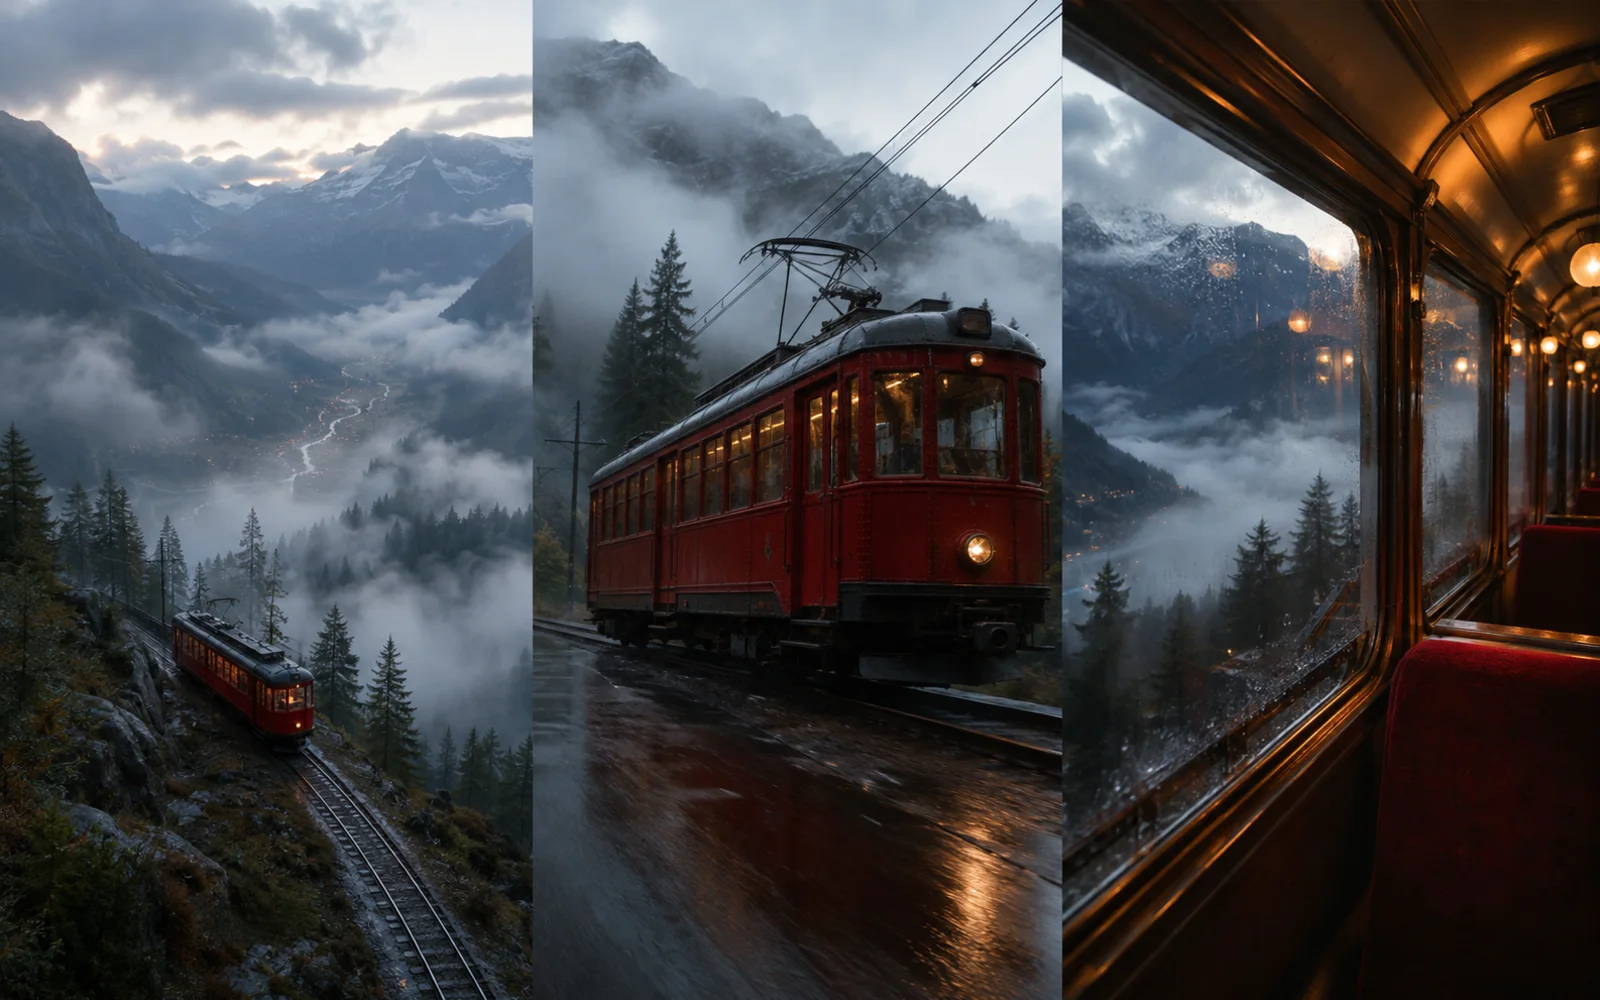
Each example places the generated clip beside the written scene direction. Copy a prompt as a starting point or send it to the generator and adapt it for another idea.

// Prompt
"A cinematic wide shot of a young astronomer in a saffron coat inside a vast hilltop observatory at sunrise. A rotating star-map projection sweeps across the brass telescope and her face as she turns toward the opening dome. Slow crane-up and gentle orbit, warm gold light, drifting dust, premium live-action film texture."
Use Cases

Where Text to Video Fits into a Creative Workflow

Text to Video is useful when the project begins with an idea rather than a finished image. It can help visualize a shot, supply a short scene, or explore a direction before more production work begins.

Concept Scenes for Pitches and Storyboards

Concept Scenes for Pitches and Storyboards

Turn a scene from a script, treatment, or creative brief into a short moving reference. Use it to discuss the setting, framing, and tone before deciding how the final scene should be produced.

Background Footage and Establishing Shots

Background Footage and Establishing Shots

Describe a location, weather condition, object detail, or simple environmental action when an edit needs a short supporting clip and there is no suitable source visual to animate.

Moving References for Stories and Game Worlds

Moving References for Stories and Game Worlds

Convert a written location, atmosphere, creature, or story moment into a motion reference. Authors, illustrators, and game teams can use the clip to communicate how an imagined setting might feel on screen.

Alternative Visual Directions for Campaigns

Alternative Visual Directions for Campaigns

Create variations of a campaign idea with different settings, actions, or framing choices. The clips can help a creative team compare directions before selecting what to develop further.

Scene Composition

How to Structure a Text to Video Description

A useful text to video description can be organized around three decisions: what happens, where it happens, and how the scene is viewed.

Layer 01 · Who and What

Subject and Action

Name the main subject, then describe one visible action. Include an object only when the subject interacts with it or it changes what happens in the scene.

Vocabulary & References
a person walkinghands shaping claya dog runningsteam rising from a cup
Layer 02 · Location and Mood

Scene and Style

Set where and when the action takes place. Add lighting or a visual treatment when it meaningfully shapes the atmosphere.

Vocabulary & References
quiet kitchencity sidewalkmorning lightnatural documentaryhand-drawn animation
Layer 03 · Framing and Motion

Camera and Perspective

Choose the shot size, viewing angle, and camera movement. A static camera is also a useful direction when the action should remain the focus.

Vocabulary & References
wide shotmedium close-upeye levelstatic cameraslow pantracking shot
How to Use

How to Generate Text to Video in Three Steps

Write one scene, choose the model options available for it, and review the generated clip before downloading or revising the idea.

1

Write the Shot You Want to See

Enter a prompt with one main subject, one visible action, and enough setting detail to establish the scene. Add framing or camera movement only when it matters to the shot.

Keep the scene focusedIf the idea contains several locations or actions, split it into separate clips instead of asking one generation to cover the entire sequence.
2

Choose the Output Settings

Select a video model, then choose from its available duration, resolution, aspect ratio, prompt, and audio controls. Review the credit cost before submitting the generation task.

Frame for the destinationUse a wide frame when the environment matters to the composition, or a vertical frame when the subject should occupy more of a mobile screen.
3

Review the Scene and Refine It

Preview the generated clip in your dashboard. Download the result when it fits the idea, or revise the prompt and generate another variation when the action, framing, or atmosphere needs adjustment.

Change one direction at a timeKeeping the subject and setting stable while changing one action or camera instruction makes it easier to understand what affected the next result.
Frequently Asked Questions

Frequently Asked Questions About Text to Video AI

Practical answers about text to video prompts, model-dependent settings, scene control, and commercial use.

Text to Video AI creates a video clip from a written scene description. Describe the subject, setting, visible action, and optional camera direction, then choose an available model and output settings.

Studio Access

Turn a Written Scene into a Video Clip

Describe one shot, choose an available model and its compatible settings, then review the generated clip in your browser.

No starting image required · Model-specific output options · Commercial use on paid plans